
Menus
Create a New Menu
Every store on an order platform should have its own individually configurable menus.
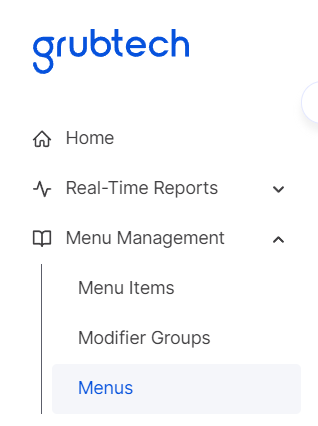
- Click Menu Managementon the Navigation pane.

- Select Menus. The Menus screen is displayed.
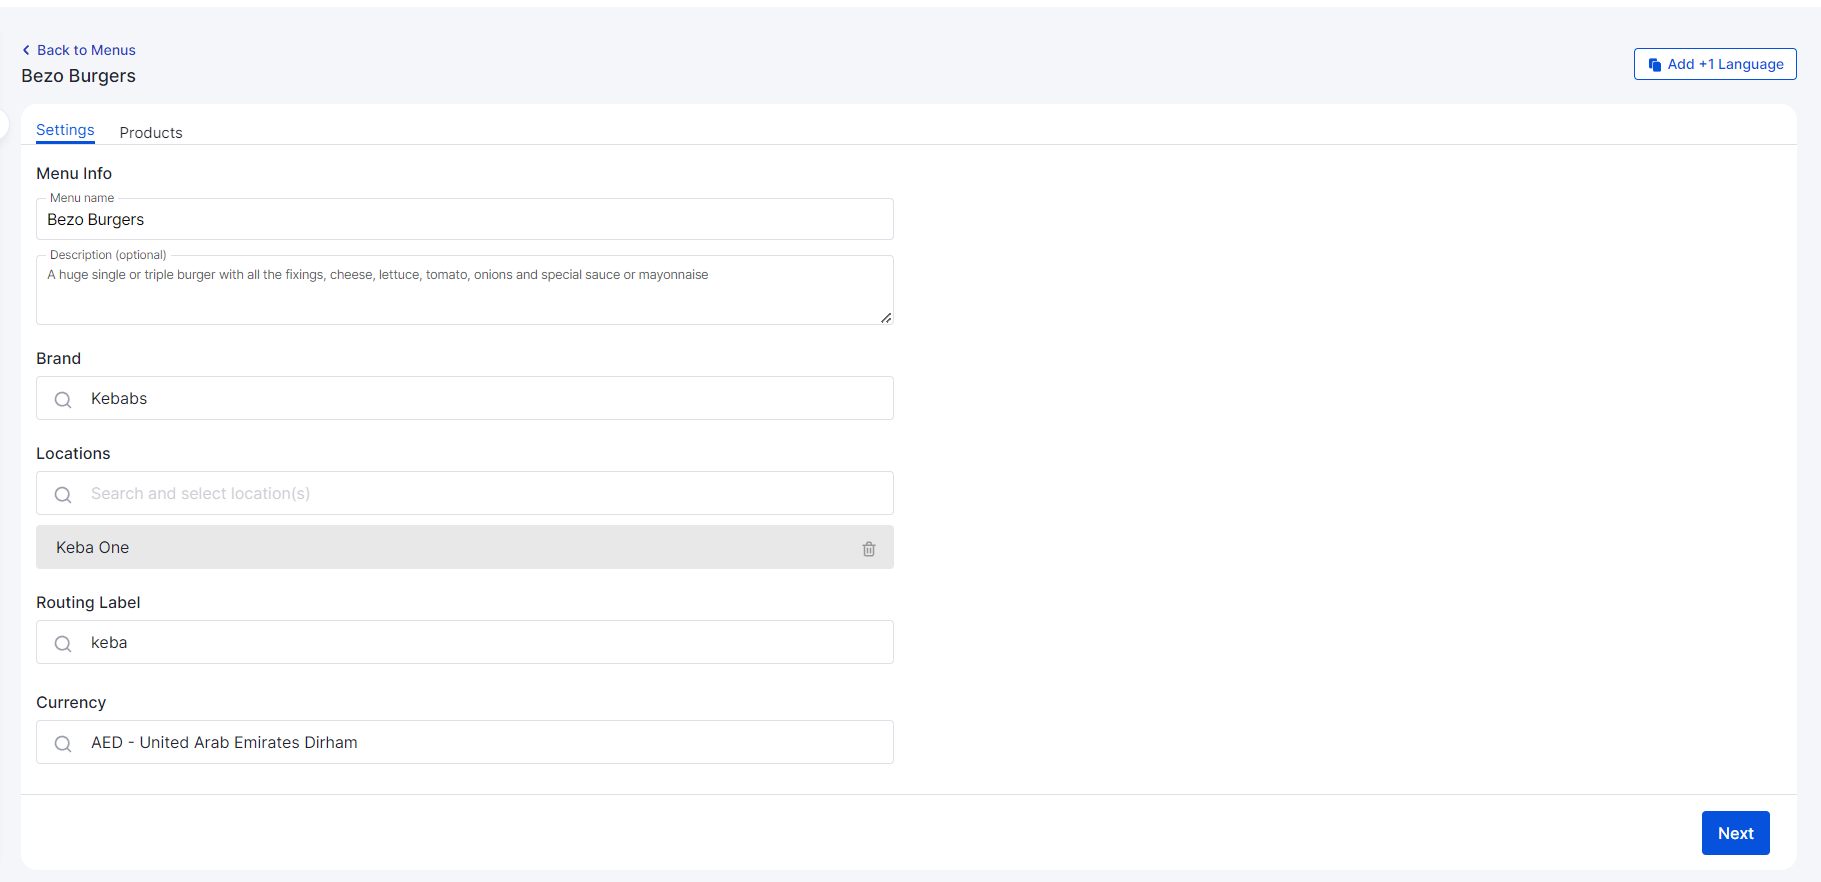
- Click + New Menu button. The New Menus screen - Settings tab .is displayed.
- Under Menu Info, In the Menu Name box type the name of the menu.
- In the Description box, type a description of your menu.
- From the Brand list, select the brand you want to associate with this menu.
- From the Locations list, select the location for this menu.
- From the Routing Label list, select the categorization for this menu.
NOTE: Routing label - Is useful when categorizing the items in a Menu or Menu Item. Routing labels can apply to recipe level, menu level and category level. - From the Currency list, select the currency that you want to associate to this menu.
- In the Taxes & Charges list, select to add a new tax or selected a created tax charge from the list.
- In the Tags list, select an existing tag for the menu or create a new one.
- Click Next. The New Menu - Products tab is displayed.
NOTE: Description and Tags are Optional Fields.
Add A Category
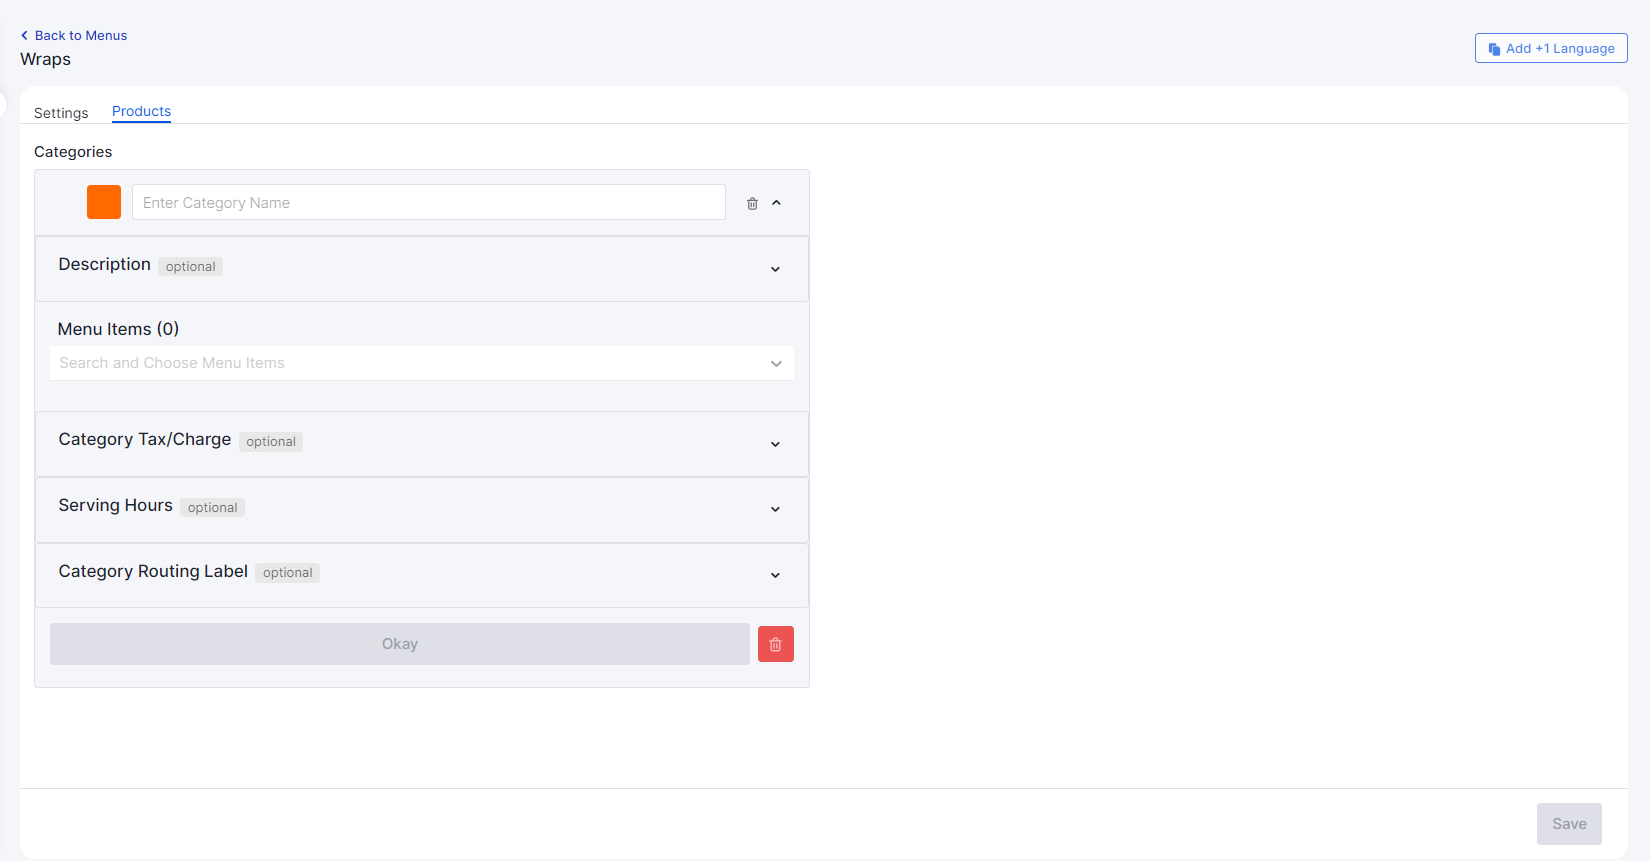
- Click +Add New Category. The Categories are displayed.
- In the Name box, type a Category name.
- In the Description box, type a description regarding the category.
- From the Menu Items list, select the relevant Menu Items for the menu.
- From the Category Tax/Charge list, select to add a new tax or selected a created tax charge from the list.
- Under Serving Hours, click Add Serving Hours .
- Select the days of the week and type the Open and Close Times for the selected days.
- From the Category Routing Label list, select the routing label you want to associate for this menu.
- Click Okay. The New Category for the menu is created.
- Click Save.
Edit a Menu
The existing list of menus are displayed in the Menus screen. You can edit an existing menu or export the menu details.
- Click Menu Managementon the Navigation pane.
- Select Menus. The Menus screen is displayed.

- Select the menu details you want to view and click View Menu. The Settings tab is displayed.
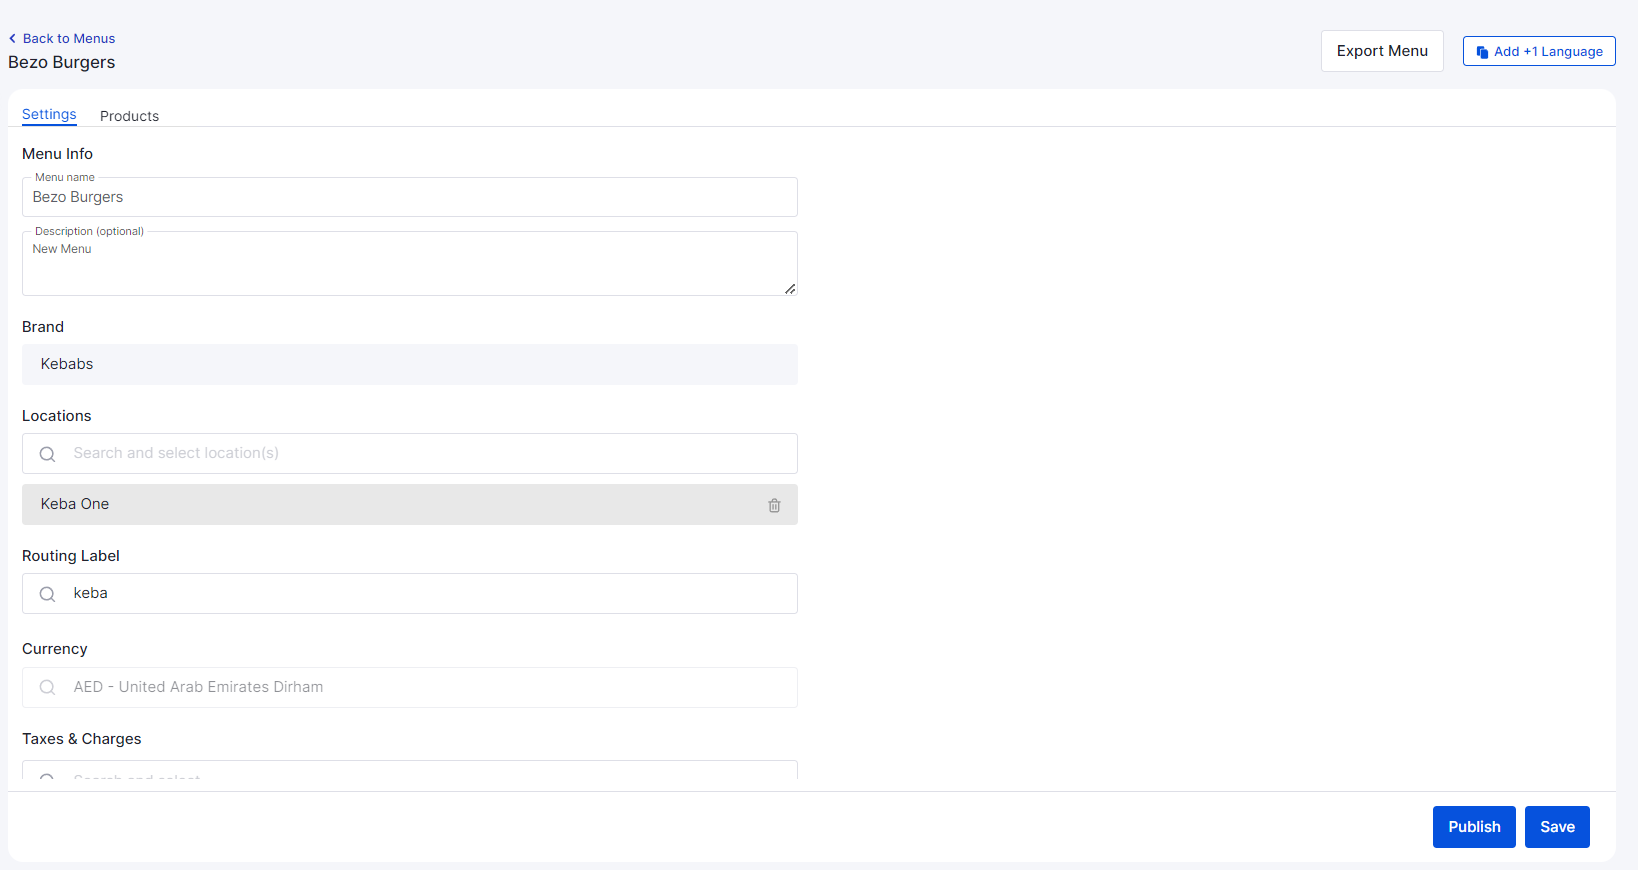
- Edit the menu details.
- Click Save to save the menu details.
- Click Publish to publish the menu.
Edit a Category
- Click Menu Managementon the Navigation pane.
- Select Menus. The Menus screen is displayed.
- Select the menu details you want to view and click View Menu. The Settings tab is displayed.
- Click the Products tab.
- Edit the category details.
- Click Okay.
- Click Save to save the category details modified.
Export a Menu
- Click Menu Managementon the Navigation pane.
- Select Menus. The Menus screen is displayed.
- Select the menu details you want to view and click View Menu.

- Click Export Menu. The selected menu is exported as an Excel file.
Filter a Menu
- Click Menu Managementon the Navigation pane.
- Select Menus. The Menus screen is displayed.
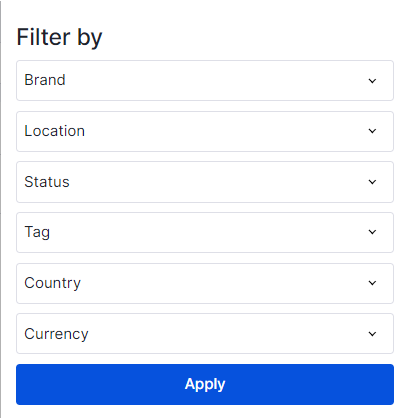
- Click Filter. The Filter By screen is displayed.
- From the Brand list, select the brand you want to filter.
- From the Locationlist, select the check boxes of the Locations you want to filter.
- From the Statuslist, select the check boxes of the Statuses you want to filter.
- From the Tag list, select the check boxes of the Tags you want to filter.
- From the Countrylist, select the check boxes of the Countries you want to filter.
- From the Currencylist, select the check boxes of the Currency type you want to filter.
- Click Apply. The Menus based on the defined filter settings are displayed.
Updated over 1 year ago
Did this page help you?