
Menu Items
Create a New Menu Item
A Menu Item is the main component inside the menu. It's better to create the Menu Items before creating the menu, since the menu will use data from the Menu Items. There can be several ingredients for Menu Items which can be configured inside a menu.
Add New Menu Item
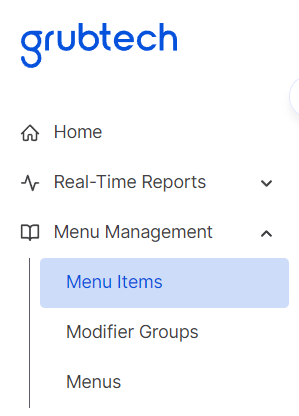
- Click Menu Managementon the Navigation pane.
- Select Menu Items. The Menu Items screen is displayed.

- Click Add Menu Item and select Create New from the menu displayed. The Add New Menu Item screen is displayed.
New Menu Item Details
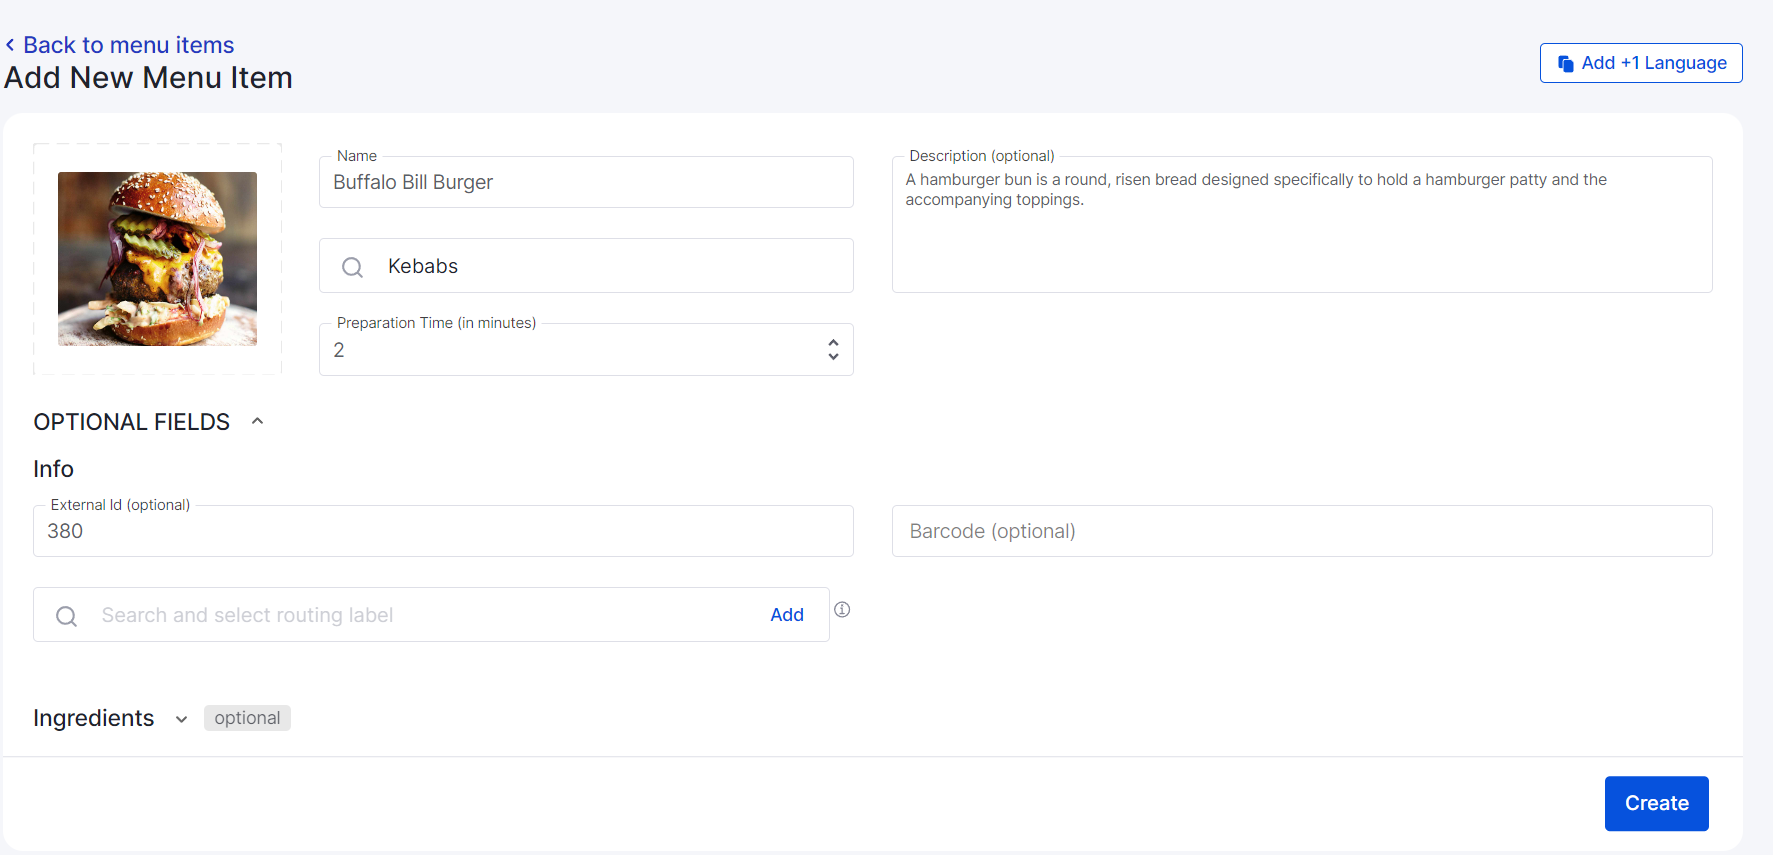
In the Add New Menu Item screen, upload the menu item image, name. description, preparation time, and brand details.
Then fill the rest of the below sections:
- Ingredients - Add ingredient name, consumption unit and quantity with packaging details.
- Pricing - Define the currency type for the menu item.
- Modifier Groups - In one modifier group, there can be several modifiers.
- Classifications - This is the classification of meal types like Veg, non-veg, Gluten free, Low carb. This is mainly used by the food aggregators and one recipe can have several classifications
- Allergens - Allergens like wheat allergen, peanut-allergen, shrimp, soy, etc...
- Add Instructions - Add instructions regarding the Menu Item.
- Tags - Any other tags or labels to help categorize or describe the item.
NOTE: Upload Image, Description, External ID, Barcode, Ingredients, Pricing, Modifier Groups, Classifications, Allergens, Add Instructions and Tags are Optional Fields.
Edit a Menu Item
You can see the created list of Menu Items in the All Items tab of the Menu Items screen.
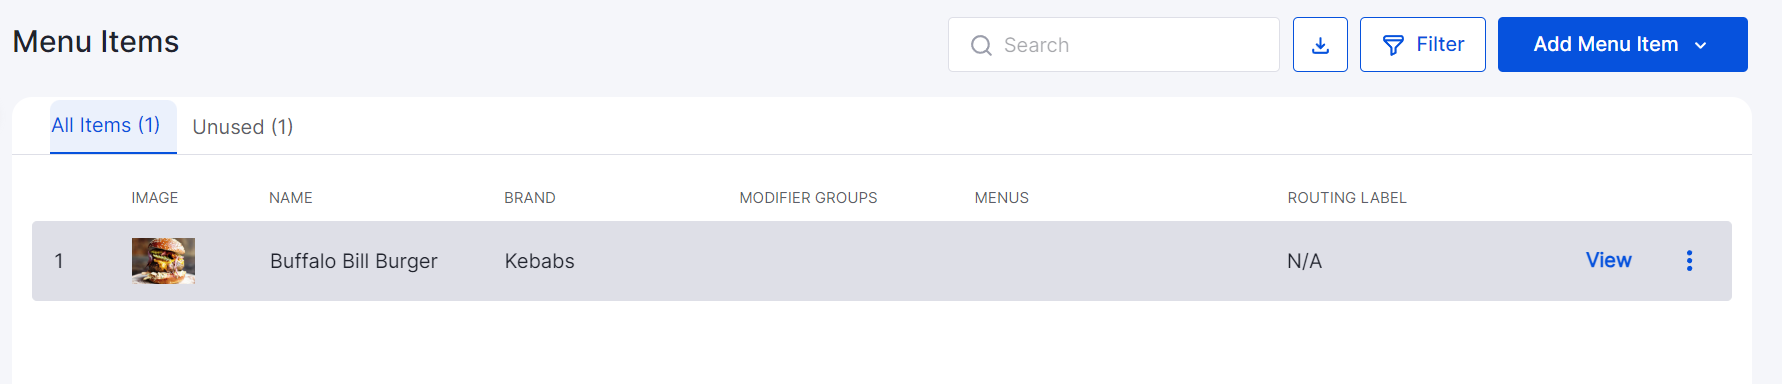
- Select the Menu Item you want to edit and click View. The details of the selected menu item is displayed in edit mode.
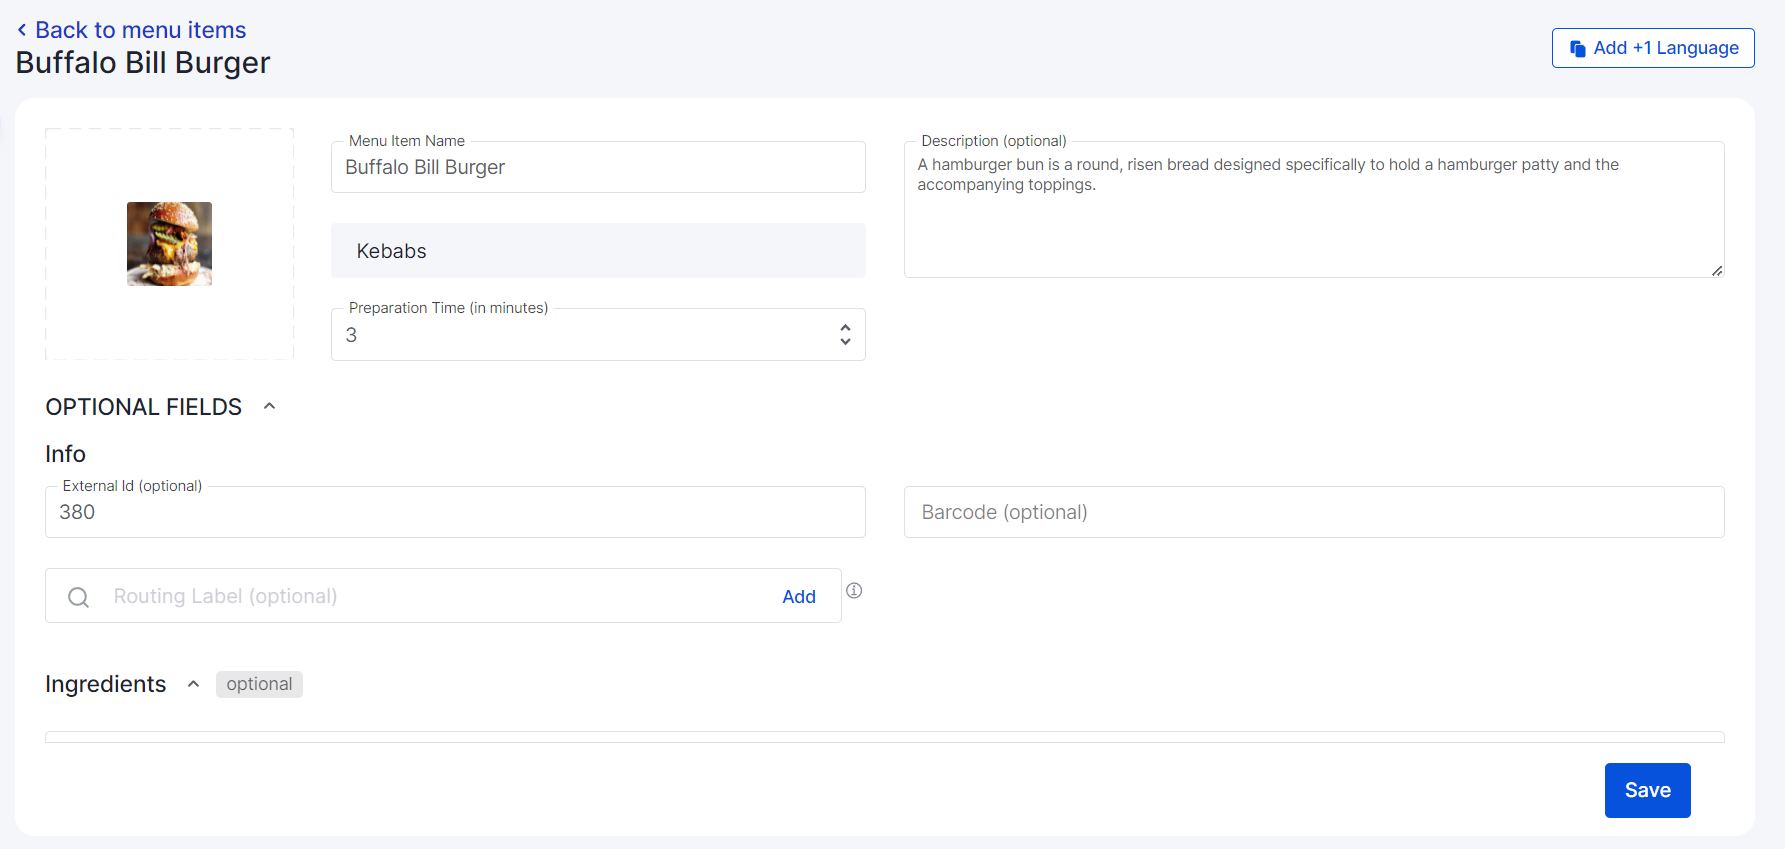
- Edit the required Menu Item details.
- Click Save.
Filter Menu Items
- Click Menu Managementon the Navigation pane.
- Select Menu Items . The Menu Items screen is displayed.
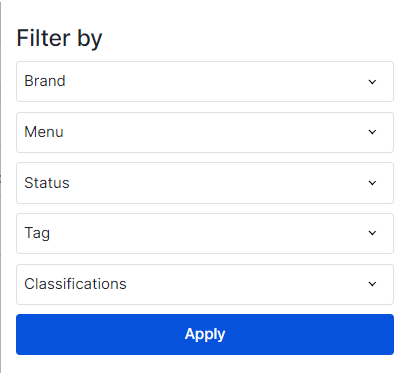
- Click Filter. The Filter By screen is displayed.
- From the Brand list, select the brand you want to filter.
- From the Menulist, select the check boxes of the Menus you want to filter.
- From the Statuslist, select the check boxes of the Statuses you want to filter.
- From the Tag list, select the check boxes of the Tags you want to filter.
- From the Classificationslist, select the check boxes of the Classifications you want to filter.
- Click Apply. The Menus based on the defined filter settings are displayed.